Create a Cluster
TigerGraph Cloud clusters offer a full-scale analytics platform to store and query your graph data.
This page guides you through the process of creating a free-tier cluster (subject to limits).
|
Free-tier clusters are for training, learning, and small-scale proof of concept use cases. Free-tier clusters do not support backup and restore. For more advanced testing and learning, consider adding a payment method and using paid-tier clusters to access the backup and restore feature. |
Create a Cluster
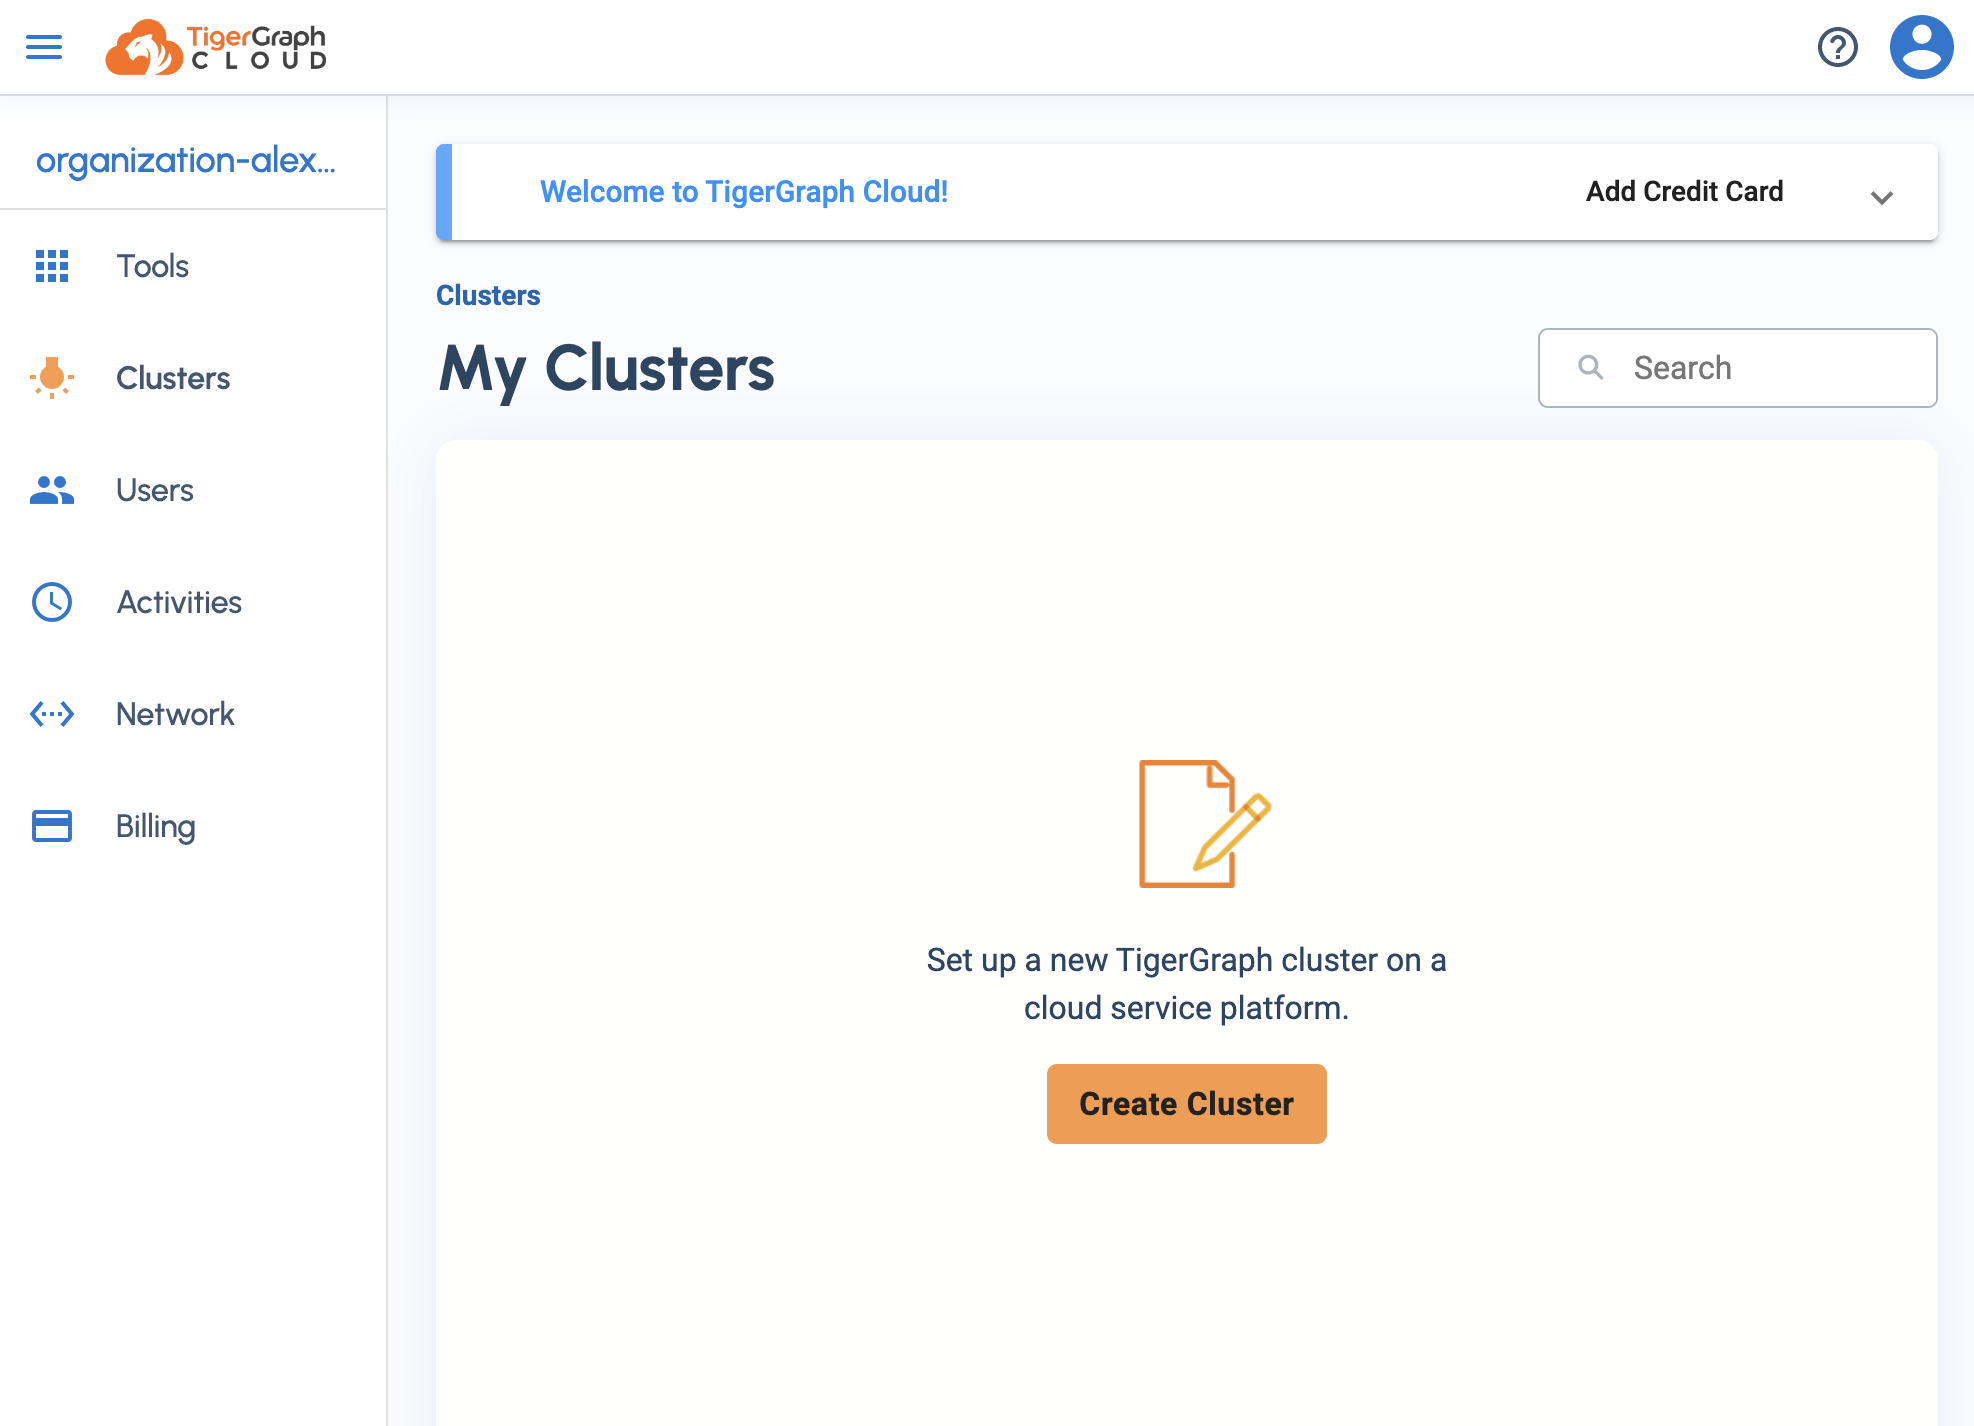
On the home page, if you have no clusters and have the privileges to create a cluster in your organization, you will see an option in the center to create a cluster.
Select TigerGraph version and starter kit
Not all TigerGraph versions that are offered on-premises are offered on TigerGraph Cloud. In the dropdown list, choose the version of TigerGraph you want to run.
TigerGraph Cloud Starter Kits are built with a sample graph data schema, dataset, and queries focused on a specific use case to help you get started quickly. Most of our starter kits have a demo video that walks you through the schema and the queries built for its use case.
Select a starter kit or select Blank to proceed with your own schema and data.

Scroll down to the bottom of the page and click Next.
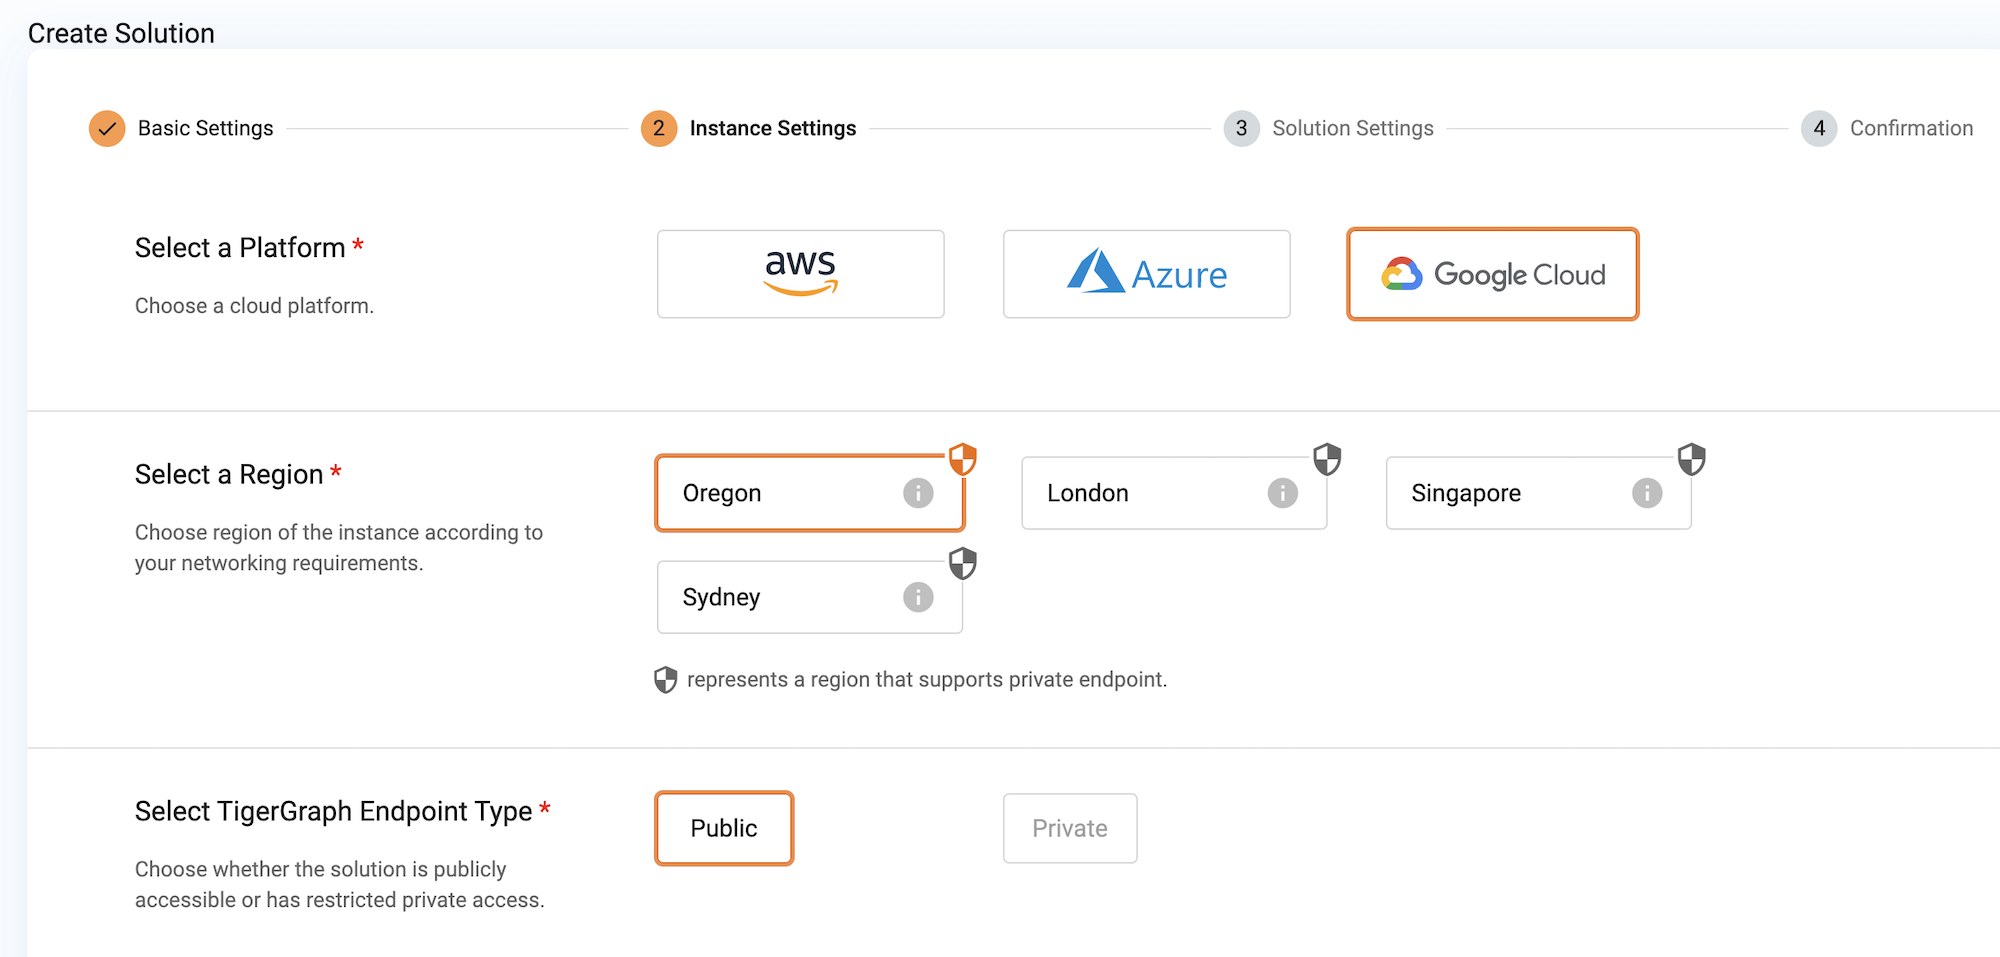
Select platform, region and endpoint type
TigerGraph Cloud supports free-tier clusters on all three cloud providers. Different providers have different regions available.
Select your preferred cloud provider and the region closest to you for the best performance.
See the Reference section for a full list of regions available for each cloud provider: Cloud Provider Reference
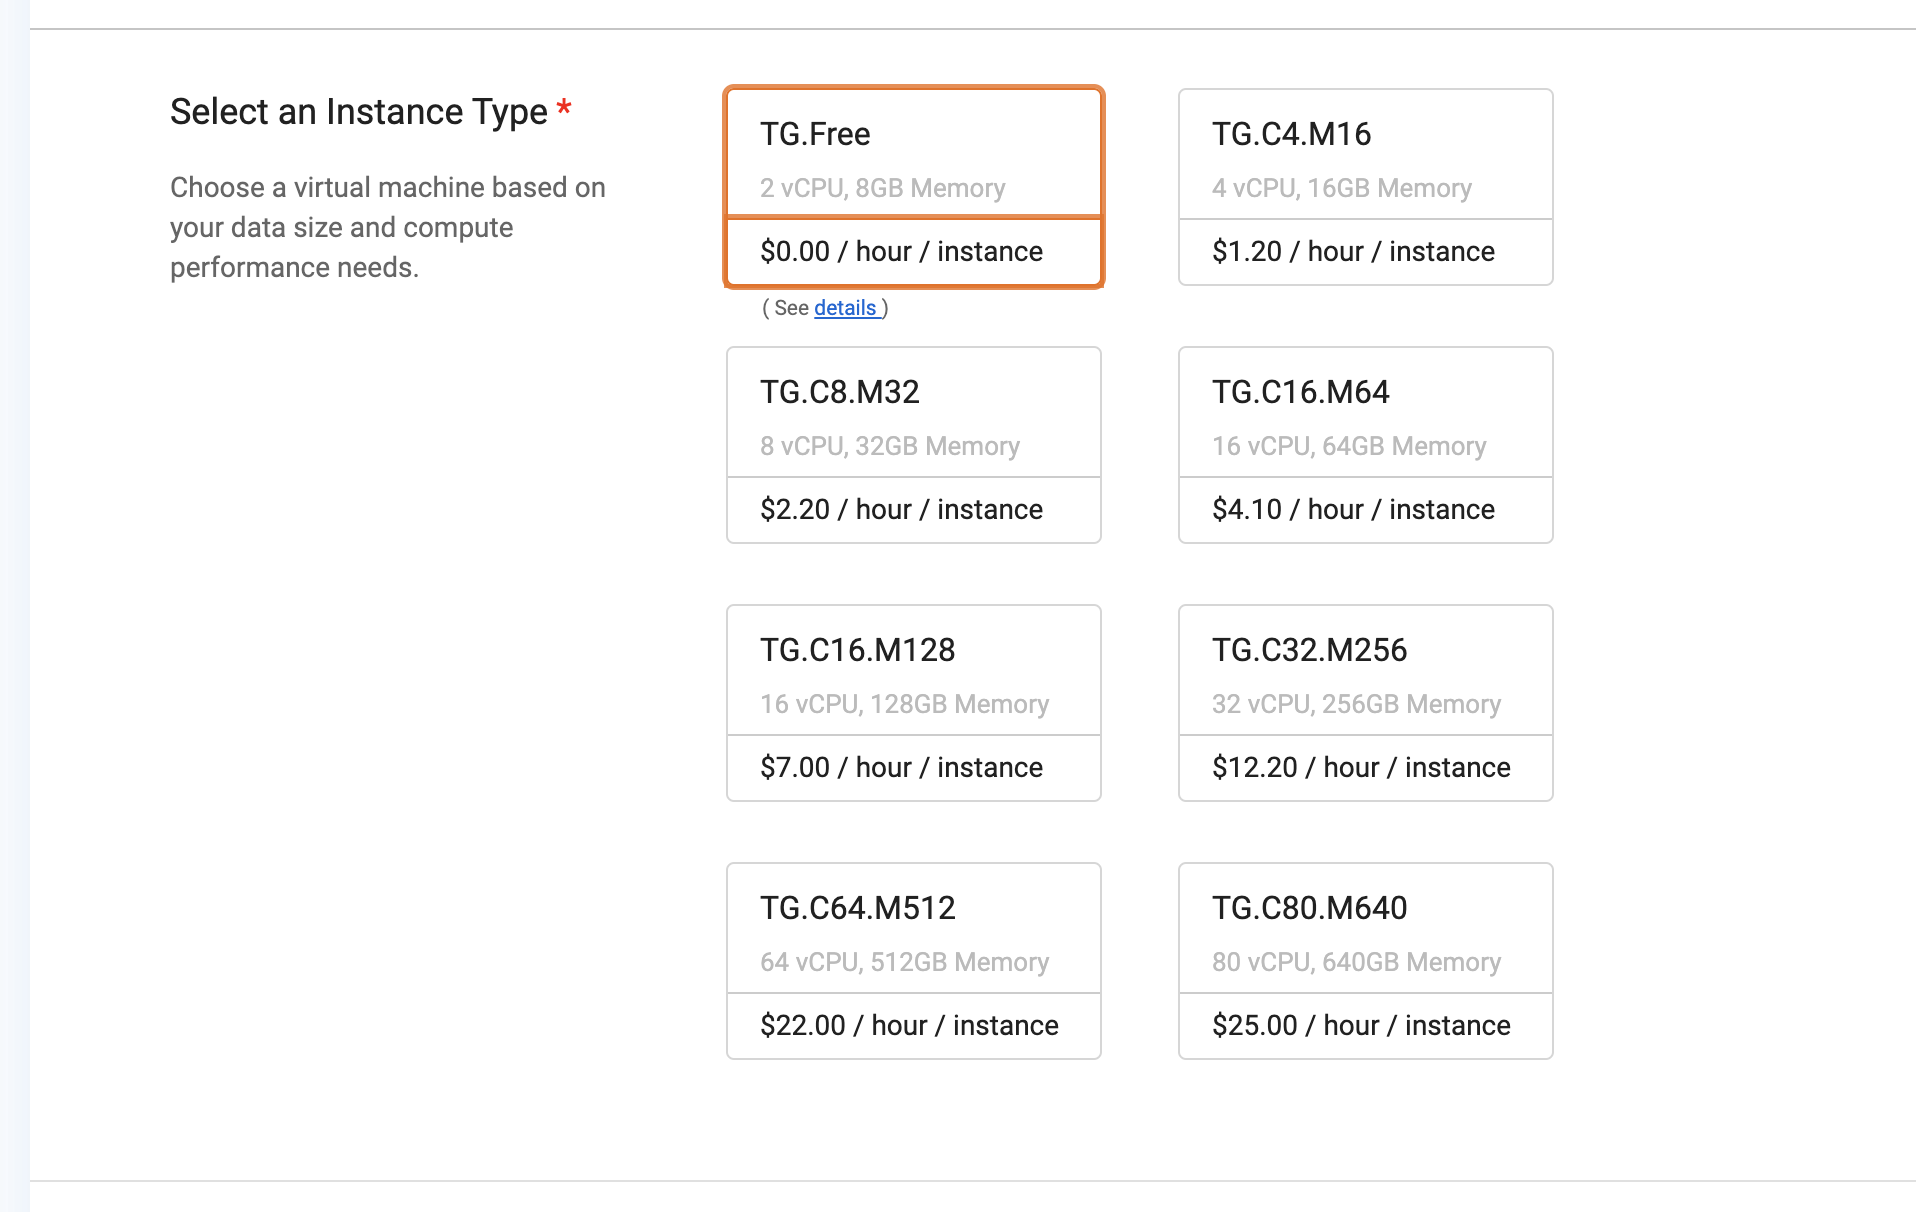
Select instance type
Select TG.Free to create a free-tier cluster for the purposes of this guide. More powerful virtual machines require you to use credits in your account or connect a payment method.
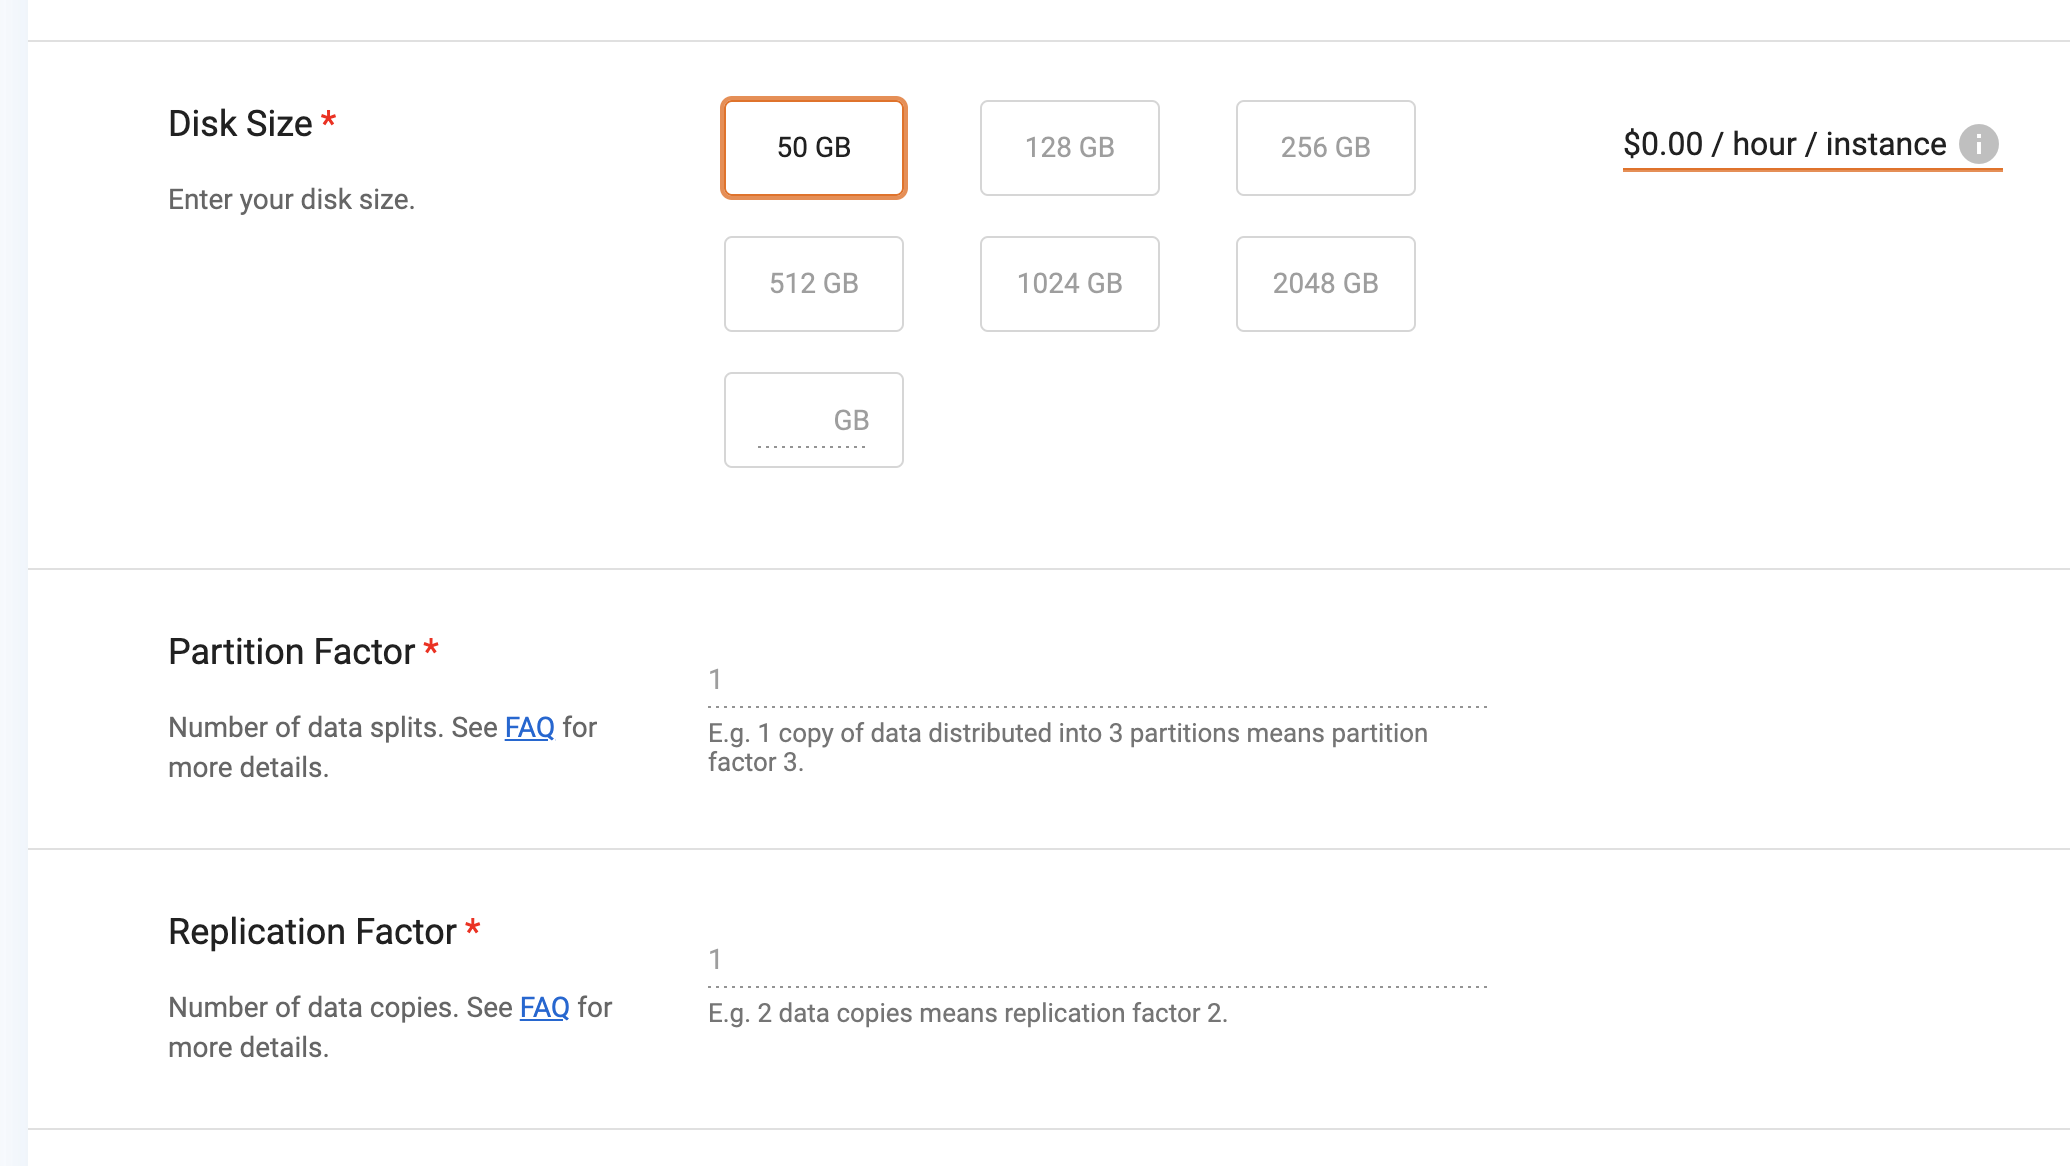
Select disk size
Select 50 GB for your disk size to stay within the free tier.
On the free tier, partition and replication are limited to 1, meaning high availability (HA) is disabled.
Scroll down to the bottom of the page and click Next.
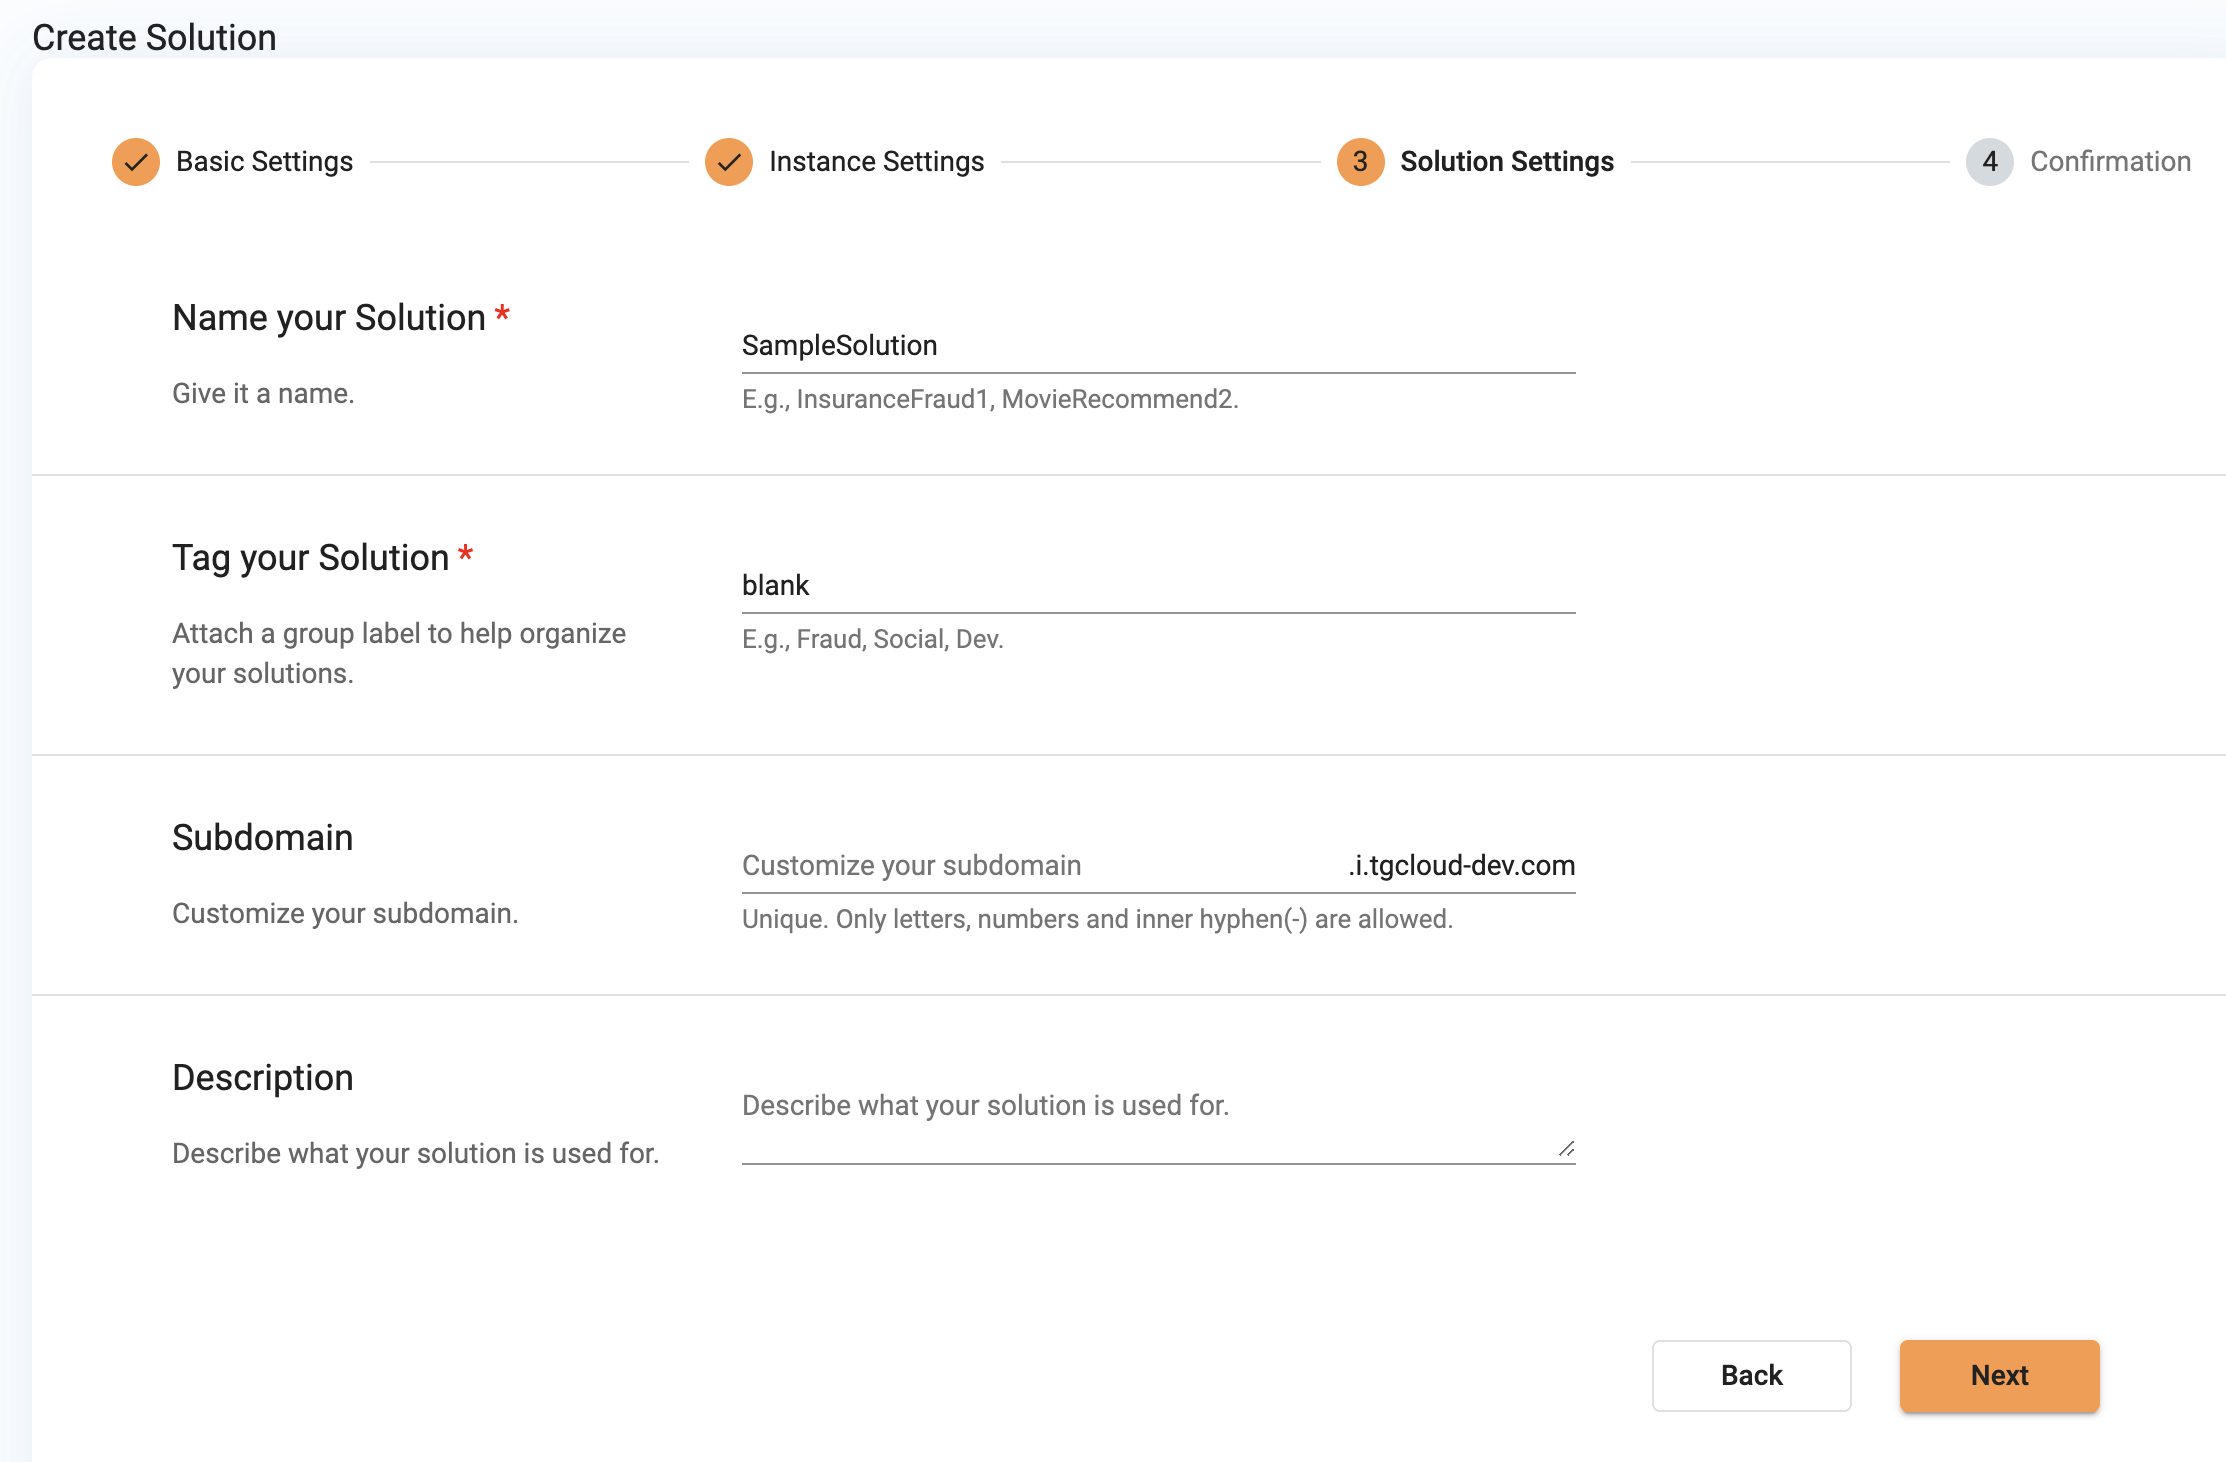
Enter a name and a tag for your cluster
On the Cluster Settings page, you can customize the name by which the cluster appears in the cluster list and give it a tag for reference.
You can also customize the cluster subdomain. If you leave this section blank, a random subdomain name will be automatically generated.
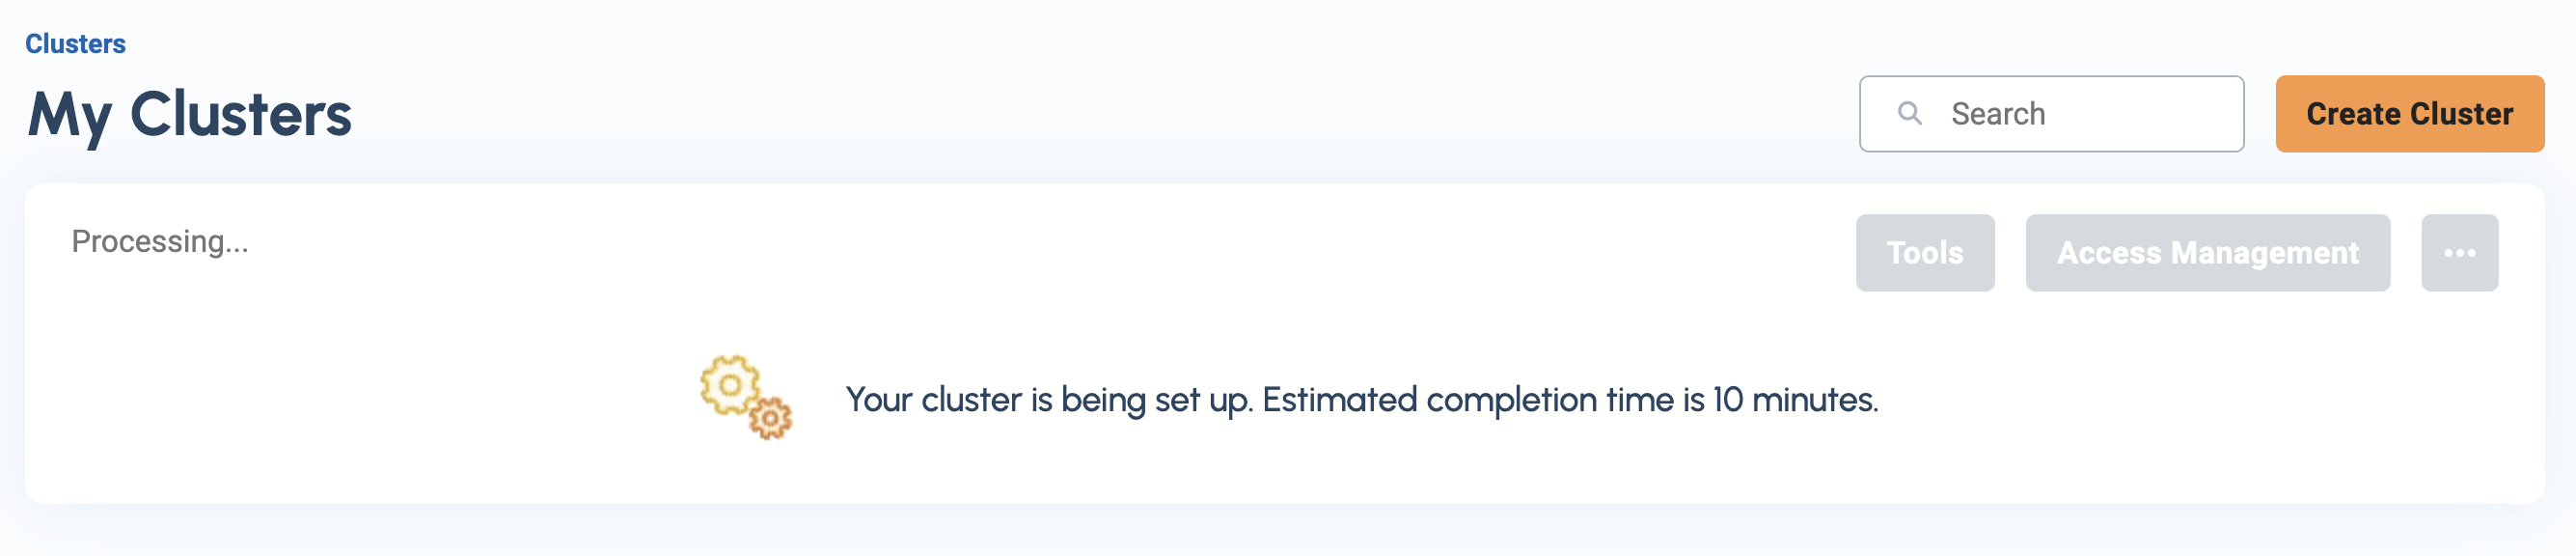
Click Next to go to a confirmation page, then create the cluster. You will be sent back to the main page, where you can see your cluster being created.
Log in to GraphStudio
After you have created your cluster, it may take a few minutes for it to be ready. Once you see the status of your cluster turn to "Ready", you can proceed to log into GraphStudio.
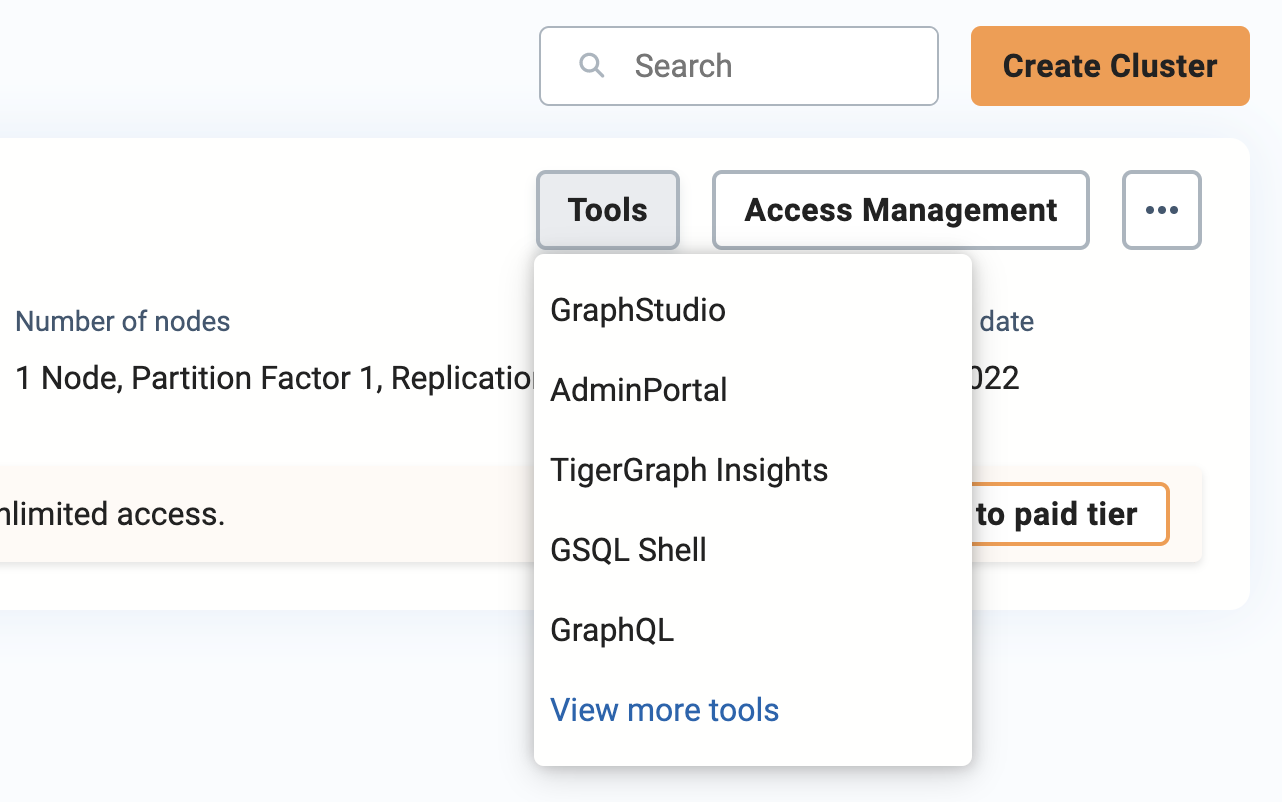
Go to the Clusters view. Find an active cluster that has finished provisioning, click Tools, and click GraphStudio.