Quickstart
This quickstart walks you through:
-
Setting up a TigerGraph schema and loading data to a TigerGraph instance.
-
Running an instance of TigerGraph GraphQL service and connecting to the graph in the TigerGraph instance.
-
Running GraphQL queries against the service.
-
(Optional) Running a web application built on top of the service
You can view the walk-through in video format:
1. Download example solution and data
-
Download the example TigerGraph solution.
-
Download the example data set and unzip it.
2. Load data
-
Start up a TigerGraph instance, either locally or on TigerGraph Cloud.
-
Navigate to the GraphStudio homepage and click Import an Existing Solution. Select the
.tar.gzfile you downloaded in the previous step/.-
If you are running TigerGraph locally, you can access GraphStudio by visiting http://localhost:14240.
-
If you are running your instance on TigerGraph Cloud, you can navigate to GraphStudio through the Cloud portal or visit your Cloud instance URL.
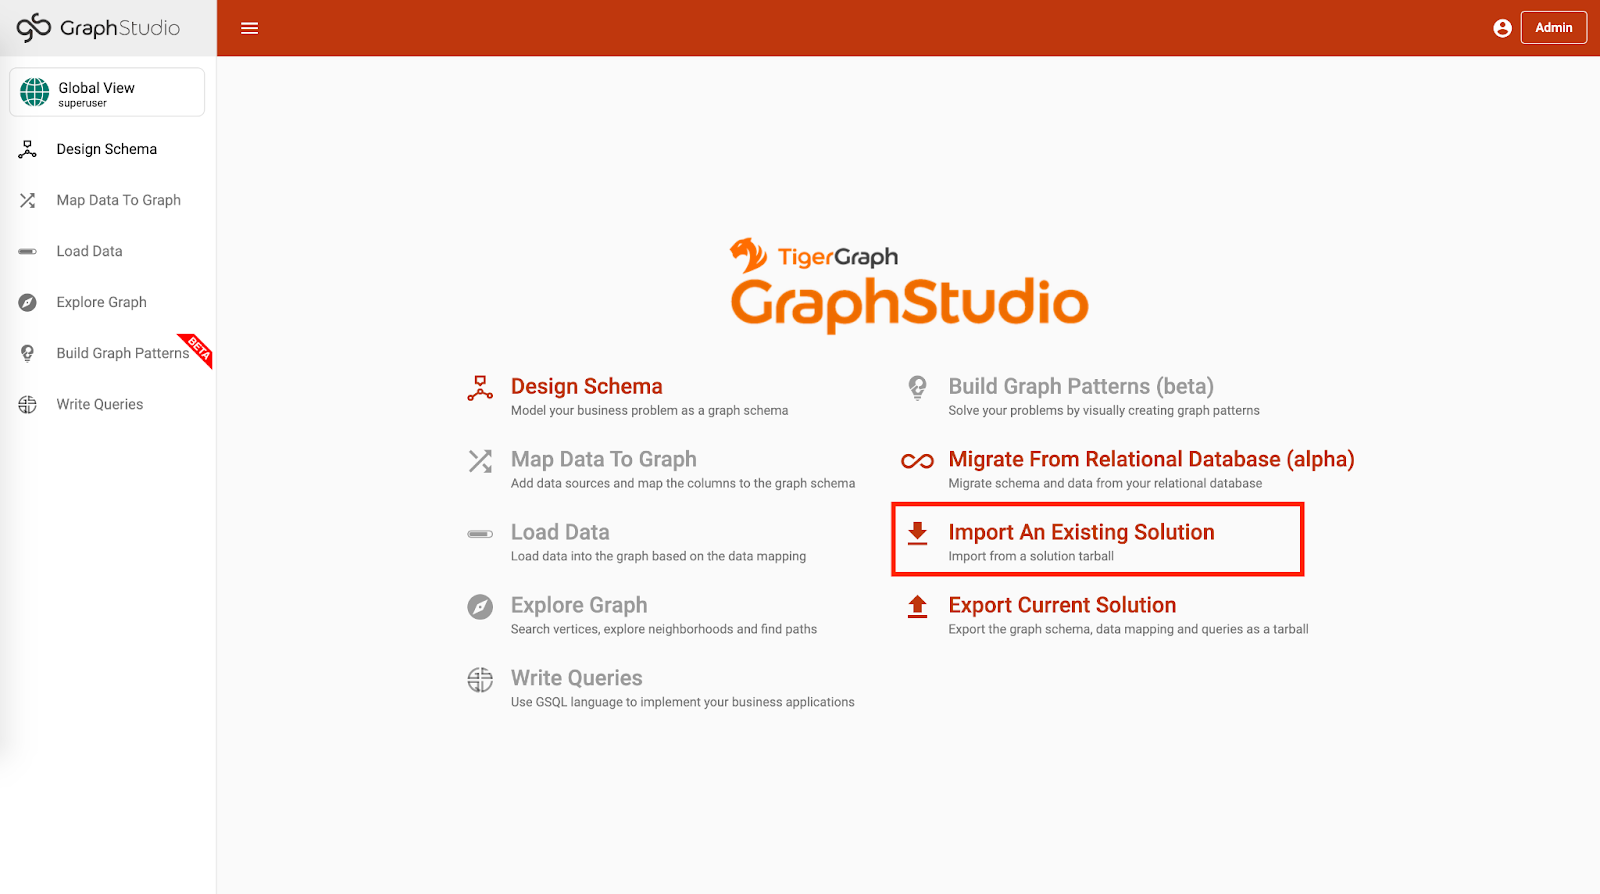 Figure 1. GraphStudio Homepage
-
-
In the upper left corner of the GraphStudio Home page, click to switch to the demo graph.
-
On the left-side navigation, click Map Data To Graph, which should no longer be grayed out after switching out of global view.
-
Click the Add Data File button and upload all the
.csvfiles from the decompressed data folder.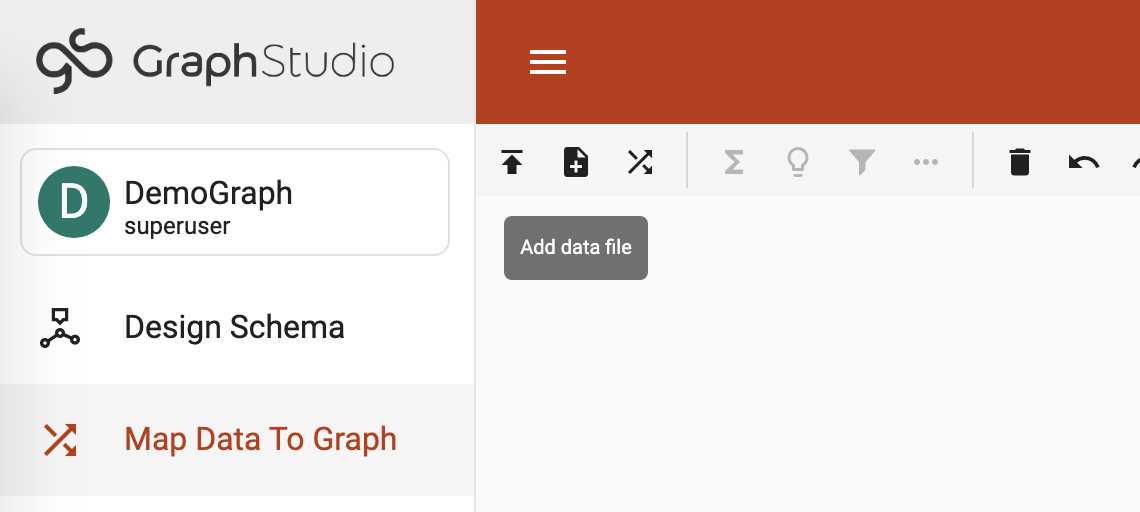 Figure 2. Add data file
 -
Navigate to the Load Data page by clicking Load Data on the left-side navigation menu. Click the ▶ button in the toolbar above the canvas to start data loading.
After data loading completes, your graph is ready for use.
3. Start TigerGraph GraphQL Service
-
Download the service binary:
OS Download link Linux X86_64
MacOS x64
Windows x64
-
Start the service
-
Decompress the tarball, and there will be a binary named
tigergraphql. -
Run the following command from the terminal to start the service and connect to the TigerGraph instance:
$ ./tigergraphql -s http://<url_to_tigergraph:port> -p 4000 -u tigergraph -w tigergraph -g DemoGraph (1) (2) (3) (4) (5)1 -s: The TigerGraph server URL2 -p: The port TigerGraph GraphQL Service is served on3 -u: GSQL username4 -w: GSQL password5 -g: The name of the graph to connect to
-
Unzip the file, and there will be a file named
tigergraphql.exe. -
Run the executable with the following command to start the service and connect to the TigerGraph instance:
tigergraphql.exe -s http://<url_to_tigergraph:port> -p 4000 -u tigergraph -w tigergraph -g DemoGraph (1) (2) (3) (4) (5)1 -s: The TigerGraph server URL and port for GraphStudio2 -p: The port TigerGraph GraphQL Service is served on3 -u: GSQL username4 -w: GSQL password5 -g: The name of the graph to connect to
The URL and port is the URL and port to access GraphStudio in the browser. If you are accessing a TigerGraph Cloud instance, you will need to use
httpsinstead ofhttp, and you do not need to specify the port. -
If the connection is successful, you will see in the terminal that the schema is loaded and that the service is being served. Now you can access the GraphQL API from the browser at the URL and port you specified:

4. Run a query
Having set up the GraphQL service, now let’s try running a simple query against the API. You’ll learn about running GraphQL queries on TigerGraph in more depth in the Queries section. For now, let’s run a simple query to get all person vertices in the graph and where they are born:
query {
  DemoGraph {
    person {
      name
      born_in {
        birthday
        to {
          name
        }
      }
    }
  }
}
{
"data": {
"DemoGraph": {
"person": [
{
"born_in": [
{
"birthday": "1982-07-27 00:00:00",
"to": {
"name": "redwood city"
}
}
],
"name": "John"
},
{
"born_in": [
{
"birthday": "1991-12-21 00:00:00",
"to": {
"name": "san jose"
}
}
],
"name": "Kevin"
},
{
"born_in": [
{
"birthday": "1995-01-01 00:00:00",
"to": {
"name": "palo alto"
}
}
],
"name": "Jenny"
},
{
"born_in": [
{
"birthday": "1973-10-05 00:00:00",
"to": {
"name": "mountain view"
}
}
],
"name": "Smith"
},
{
"born_in": [
{
"birthday": "1990-09-12 00:00:00",
"to": {
"name": "redwood city"
}
}
],
"name": "Tom"
},
{
"born_in": [
{
"birthday": "1992-05-23 00:00:00",
"to": {
"name": "san jose"
}
}
],
"name": "Emily"
}
]
}
},
"errors": null
}5. (Optional) Run a GraphQL-powered web application
You can run our example React app built on top our demo data and explore how a front-end application interacts with a GraphQL API.
-
Download the example application, unzip the file and change directory into the
tigergraphql_example_reactfolder -
If TigerGraph GraphQL Service is running on another machine, change
config.jsonwith the IP and port to that machine. If the service is running on localhost, skip this step.{ "GRAPHQL_API": "http://localhost:4000/graphql" (1) }1 Change the root url to the IP and port that the service is running on -
Run the following command to serve the app:
$ python server.py
serving at port 3000